Construir una casa a partir de un contenedor de envío es súper atractivo. Es perfecto para las personas que se preocupan por vivir verde, mantener las cosas sencillas y ahorrar dinero. Tomar una caja de metal simple y convertirla en una casa cómoda, bonita y única en su tipo es una gran aventura. Si te gusta ensuciarte las manos, ir a la ruta de hazlo tú mismo (DIY) ahorra dinero y te permite crear un espacio que sea totalmente tu.
Esta guía está aquí para guiarlo. Compartiremos consejos fáciles y de ahorro para diseñar el interior de su casa de contenedores. Desde la planificación inteligente hasta las ideas creativas de muebles, estos trucos le ayudarán a crear un hogar acogedor y útil sin gastar una tonelada.
Obtener lo básico correcto: planificar su proyecto de bricolaje
Antes de tocar un martillo o una sierra, la planificación es todo. Un plan sólido mantiene su proyecto en el buen camino y su billetera feliz.
Hacer un presupuesto claro
Necesitas un presupuesto. No se trata de detenerte, se trata de guiarte. Comience anotando cada costo que pueda pensar:
- El contenedor en sí mismo (los precios cambian según el tamaño, la condición o dónde lo consigues)
- Tierras y permisos
- Trabajo de fundación
- Pagar a los profesionales por cosas como levantar el contenedor, soldar o trabajar eléctricamente
- Puertas y ventanas
- aislamiento
- Plomería y instalaciones eléctricas
- Materiales para el interior (como paredes, pisos, pintura)
- Instalaciones y electrodomésticos
Agrega todo. Luego, pegue un 10-15% adicional para sorpresas. Cada proyecto de construcción, especialmente el bricolaje, tiene costos inesperados. Este dinero extra le evitará estresarse más tarde.
Planifica tu espacio con inteligencia
Un contenedor de envío es largo y delgado. Su trabajo es hacer que se sienta espacioso, útil e invitante. Coge un poco de papel y dibuja un diseño. Piensa en cómo vives todos los días. ¿Dónde dormirás? ¿Cocinar? ¿Relajarse? ¿Trabajo?
Para la mayoría de las casas de contenedores, un diseño abierto es el camino a seguir. Mezcle la cocina, el comedor y las áreas de estar en un espacio grande. Esto salta las paredes que bloquean la luz y hace que todo se sienta más grande y amigable.
Abordar las cosas estructurales clave
Puertas y ventanas: Donde cortas agujeros importa mucho. Póngalos en lugares que permitan entrar mucha luz y mantengan el aire en movimiento. Esto impide que el espacio se sienta atascado o húmedo. Las grandes puertas de vidrio o algunas ventanas pueden hacer que una caja oscura se sienta brillante y abierta.
Aislamiento y barrera de vapor: Un recipiente metálico se hace muy caliente en verano y súper frío en invierno. No puedes ahorrar en aislamiento. La espuma de pulverización es popular porque bloquea bien el calor y impide que la humedad se acumule en las paredes metálicas. Otras opciones son tableros rígidos de espuma, lana de roca o bastidores de fibra de vidrio.
Plomería y Electricidad: Descubre dónde van las tuberías y los alambres antes de colocar paredes. Es mucho más fácil y barato hacerlo primero. Planifica cada toma, interruptor y grifo.
Hacks de diseño de interiores: grandes ideas para espacios pequeños
Ahora las cosas divertidas: convertir su contenedor aislado en un hogar real. Aquí está cómo hacerlo con un presupuesto con algunas ideas inteligentes.
Trucos para hacer que el espacio se sienta más grande
Ir con los colores claros: Los colores claros son un go-to por una razón. Los oscuros absorben la luz y hacen que las habitaciones se sientan pequeñas. Los tonos claros como blanco, beige suave o gris pálido rebotan la luz alrededor. Hacen que su casa se sienta más brillante y más grande. Pinta las paredes y el techo en estos colores para el mejor ambiente.
Usar espejos: Un espejo grande es como añadir una ventana. Coloque uno frente a una ventana para difundir la luz y mostrar la vista. Hace que la habitación se sienta más profunda. En un pasillo estrecho, un espejo largo puede hacerlo parecer mucho más amplio.
Piensa alto: Hacer que el espacio se sienta más alto tirando los ojos hacia arriba. Pruebe cortinas altas, rayas verticales en una pared o estantes de libros altos y delgados.
Elegir los muebles adecuados
Elija piezas de uso múltiple: Cada pieza debe hacer un doble deber. Busque cosas inteligentes como un sofá que se convierta en una cama, un otomán con almacenamiento dentro, una mesa de comedor que crece o se encoge, o una cama con cajones debajo de ella.
Ir por muebles delgados y elevados: Salta las cosas pesadas y voluminosas que se sientan planas en el suelo. Elige muebles con una base más pequeña y patas que puedes ver debajo, como sofás modernos de mediados del siglo o mesas laterales. Ver el piso hace que la habitación se sienta menos estrecha.
Usar espacio de pared para almacenamiento: Cuando el piso esté apretado, sube. Ponga estantes que golpeen el techo o colgue estantes flotantes en la pared. Estos guardan libros o decoración sin ocupar espacio en el piso.
Ideas de materiales baratos
Paredes: La pared seca está bien, pero la madera contrachapada es mucho más barata. Puedes dejarlo natural o pintarlo para una sensación cálida y moderna. Cuesta menos que otras opciones de pared.
Pisos: Para un piso resistente y de bajo costo que se vea como madera, prueba tabla de vinilo o laminado. Otra idea genial es arreglar el suelo de contrachapado original del contenedor. Es súper resistente. Elisa y añade algunas capas de sellante fuerte para un gran aspecto.
encimeras: El granito y el mármol son bonitos pero caros. Las encimeras de laminado vienen en toneladas de diseños frescos ahora. O, para un proyecto divertido, haz encimeras de hormigón tú mismo. Son duros, se ven elegantes y no cuestan mucho.
Añadir personalidad con muebles de bricolaje
Estantes de tuberías: Es un proyecto sencillo y increíble. Coge unos tubos viejos de madera y acero de la ferretería. Construye estantes abiertos para un aspecto resistente e industrial en su cocina o sala de estar.
Escritorio de pared plegable: ¿Necesitas un espacio de trabajo pero poco espacio? Haz un escritorio plegable. Todo lo que necesitas es una pieza fuerte de madera, unas bisagras resistentes y soportes. Póngalo en la pared para un escritorio que se plegue cuando termine.
Muebles de paleta: Las viejas paletas de madera pueden convertirse en muebles frescos. Compruebe que la paleta esté tratada térmicamente (marcada “HT”) y no esté tratada químicamente. Elisa, limpia, pinta y convierte en una mesa de café rústica, marco de cama o base de sofá.
Banco de almacenamiento: Construye una simple caja de madera con una tapa bisagrada. Encarga con una almohadilla amortiguada cubierta de tela que te encanta. Es un gran banco para la entrada o dormitorio con almacenamiento oculto para zapatos o mantas.
¿Quieres una casa que se mueva contigo?
Una cosa bonita sobre las casas de contenedores es que pueden moverse. Si quieres una casa puedes tomar lugares, consigue un chasis de remolque personalizado. Este marco va debajo del contenedor, convirtiéndolo en una pequeña casa remolcable.
Construyendo sobre una base sólida: consejos de fundación de Sunlit Tec
Su increíble interior no importa si la casa no es segura. Una base fuerte mantiene su hogar seguro y duradero.
No puedes usar cimientos de grava. La grava se lava o se desplaza, lo que hace que la casa sea vacilante e insegura. En su lugar, busque una superficie sólida y plana. Esto es lo que funciona:
- Para terrenos desiguales, como una ladera, construya pilares de hormigón. Coloque placas de acero con pernos de anclaje en los pilares para mantener la casa firme.
- O, vierta una losa completa de hormigón. Ponga la casa sobre ella o atornilla para obtener fuerza adicional.
Sunlit Tec: Su socio para casas confiables de contenedores
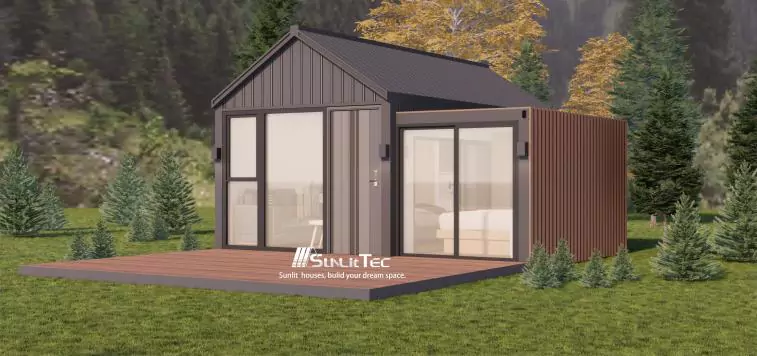
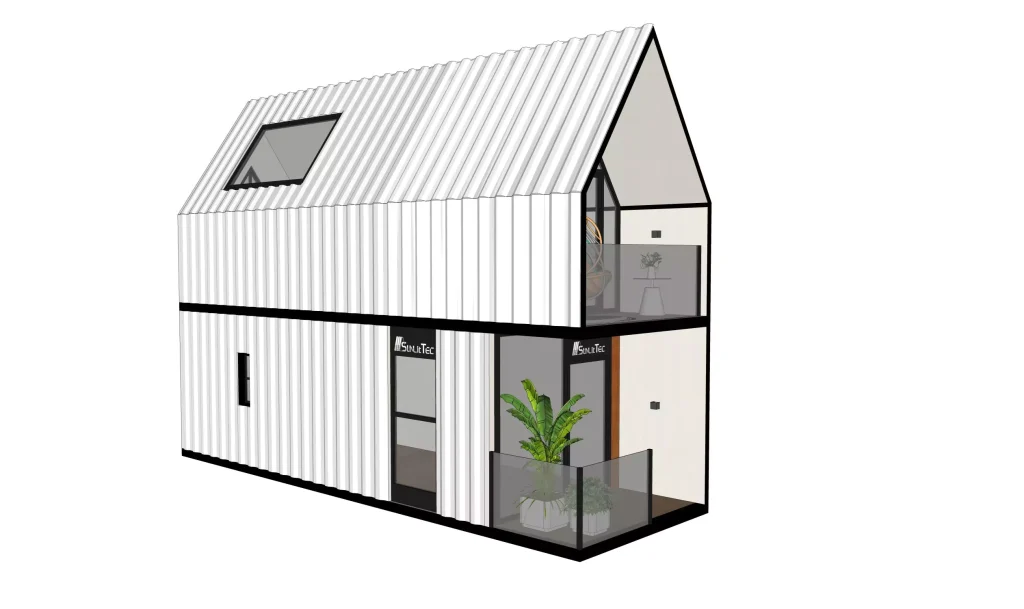
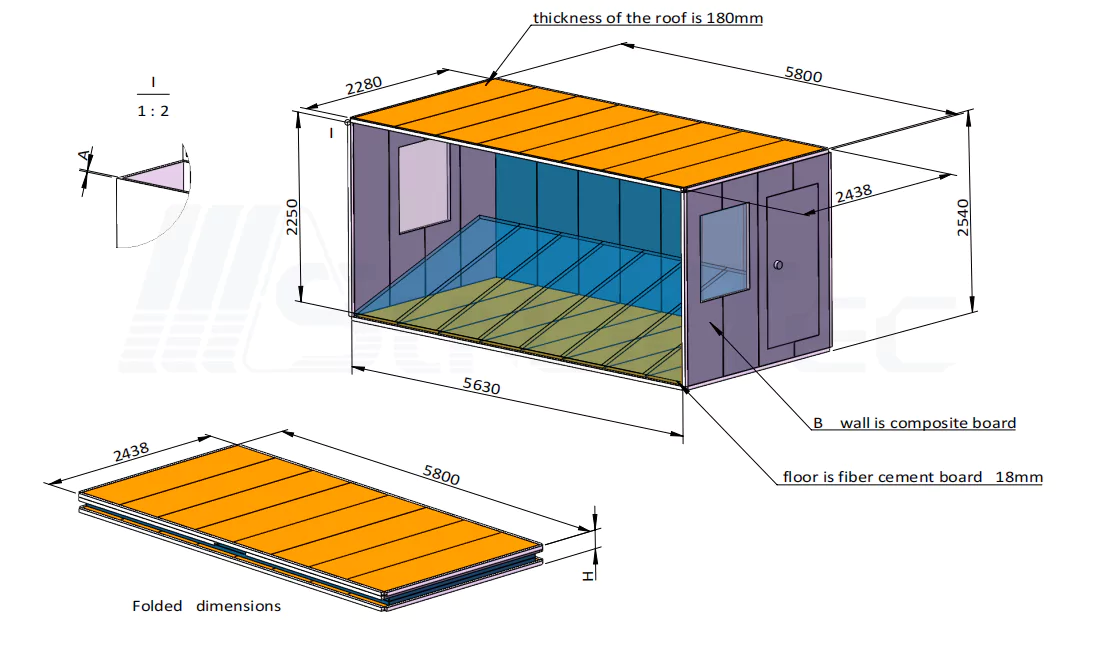
Iniciar un proyecto de bricolaje necesita una buena base. La calidad del contenedor es clave. Sunlit Tec es un proveedor sólido con viviendas prefabricadas creativas y de primera clase. Son perfectos para tus sueños de bricolaje. Sus Casa del contenedor expandible y C7 Casa triángulo de dos pisos son bases fuertes y bien hechas. Elegir un proveedor de confianza como Sunlit Tec te permite concentrarte en hacer tu interior increíble.

Conclusión
Una casa de contenedores de envío DIY no es solo un proyecto de construcción. Es una oportunidad de ser creativo, ahorrar dinero y mostrar tu estilo. Con una buena planificación, un presupuesto cuidadoso y ideas de diseño inteligentes, puede convertir una caja de metal en una casa de sus sueños. Demuestra que no necesitas montones de dinero para una casa acogedora y fresca, solo un plan sólido y el impulso para hacerlo tú mismo. Esperemos que estos consejos te impulsen a empezar.
Preguntas frecuentes (FAQ)
Q1: ¿Qué tipo de fundación necesita mi casa de contenedores Sunlit Tec?
A1: Necesitas una superficie sólida y plana. No se permiten fundaciones de grava. Para terrenos desiguales, como una ladera, construya pilares de hormigón con pernos de anclaje. O, utilice una losa de hormigón completa para una configuración segura.
Q2: ¿Puedo mover mi contenedor a casa más tarde?
A2: Sí, si quieres una casa móvil, podemos agregar un chasis de remolque personalizado. Hace que el traslado a un nuevo lugar sea fácil.
Q3: ¿Qué pasa si una pieza se rompe bajo garantía? ¿Sunlit Tec lo arregla en el sitio?
A3: No hacemos reparaciones en el sitio. Pero si una pieza no hecha por el hombre se rompe durante la garantía, enviaremos un reemplazo gratuito. Nuestras casas estándar no vienen con sistemas de monitoreo o alarma, por lo que es posible que necesite agregar el suyo propio.


